

Sometimes you display some information about your application in a Windows Phone 7 Page using the Popup control. When you test the application using the Marketplace Test Kit and testing the hardware back button functionality. This test will fail as the back key does not close the Popup. In this article we will create a WP7 application that display a message in a Popup control and make sure that the hardware Back key will close the Popup dialog.
Note: You need to install the Windows Phone SDK version 7.1 to be able to find the Silverlight for Windows Phone Project Templates
Create a new Windows Phone Application
1. Open Visual Studio 2010 Express for Windows Phone.
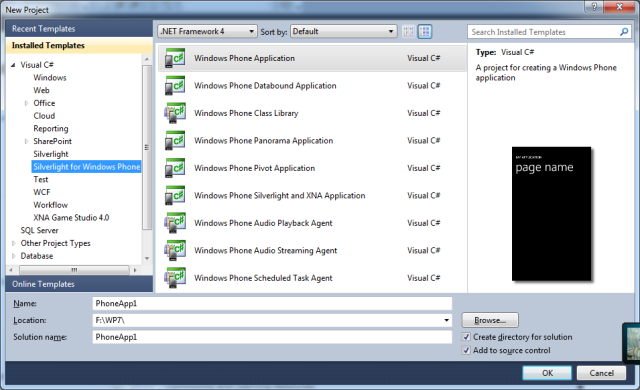
2. Click on New Project from the Start Page of Visual Studio. The New Project dialog appears.
3. From the left pane select C# and then Silverlight for Windows Phone Templates.
4. From the right pane select Windows Phone Application.
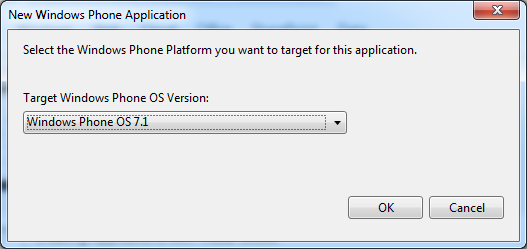
5. Type your project name and then click Ok. The New Windows Phone Application appears.
6. Select the Target Windows Phone OS Version from the dropdown list. In our project we select Version 7.1 that will target Windows Phone 7.5 Mango.
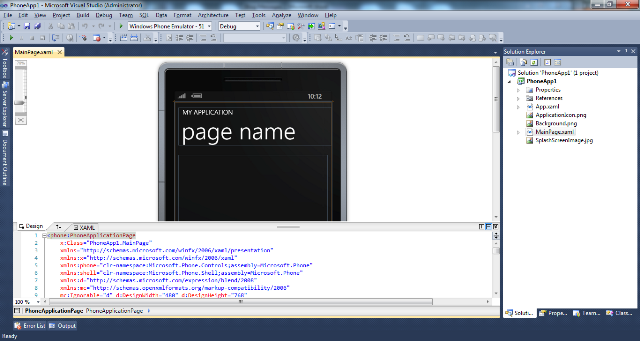
7. The project will be created and the Main Page is opened in the Visual Studio.
Adding a new Page to Windows Phone Project
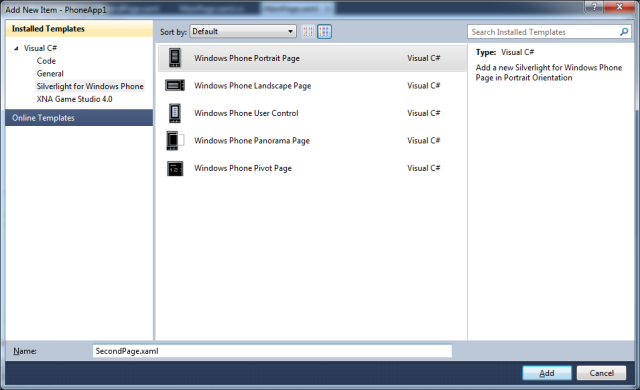
1. Right click on the project in the Solution Explorer and click on Add then New Item. The Add New Item Dialog appears.
2. From the left pane select C# and then Silverlight for Windows Phone Templates.
3. From the right pane select Windows Phone Application.
4. Select Windows Phone Portrait Page and name it SecondPage and then click Add button. The page will be added to the project.
Add XAML Code to the Main Page
1. Open the XAML view of the Main Page.
2. Find a TextBlockcontrol named ApplicationTitle and set its Text property to Back Button Test.
3. Find a TextBlock control named PageTitle and set its Text property to main page.
4. Find a Grid control named ContentPanel .
5. Replace the ContentPanel Grid code with the following code.
<Grid x:Name="ContentPanel" Grid.Row="1" Margin="12,0,12,0">
<Grid.RowDefinitions>
<RowDefinition Height="50"/>
<RowDefinition Height="146*" />
<RowDefinition Height="411*" />
</Grid.RowDefinitions>
<Button Name="SecondPageButton" Content="Second Page"Click="SecondPageButton_Click"
Grid.Row="1" Width="Auto" />
</Grid>
a. The above xaml code creates three rows in the ContentPanel Grid control.
b. Adds a button control to the second row of the ContentPanel Grid, set its name to SecondPageButton.
c. Set SecondPageButton content property to Second Page. We will use this button to navigate to the second page added earlier.
6. Double click the SecondPageButton, this creates the Click event handler for that button.
7. Add the following Code to the SecondPageButton_Click event handler
private voidSecondPageButton_Click(object sender, RoutedEventArgs e)
{
Uri secondPageUri = newUri("/SecondPage.xaml",UriKind.Relative);
NavigationService.Navigate(secondPageUri);
}
a. The above code creates an object of Uri class and sets the uriString to the relative path of the SecondPage.xaml page and sets the UriKind to relative.
b. We call the Navigate method of the NavigationService Class. This class contains methods, properties, and events to support navigation.
8. Build your application and run it in the emulator. You will find something similar to the following image.
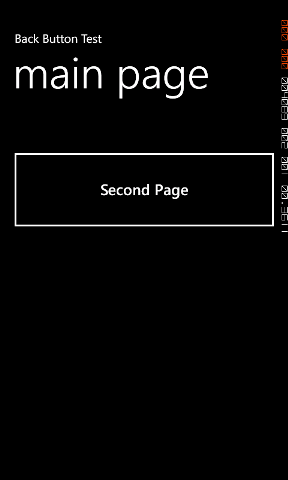
9. Click on the Second Page Button, you will be navigated to the Second page but it is empty. Let’s us work on it.
Add XAML Code to the Second Page
1. Open SecondPage.xaml if it is not already opened by double clicking on it in the Solution Explorer.
2. Open the Xaml view by clicking on the XAML tab.
3. Find a TextBlockcontrol named ApplicationTitle and set its Text property to Back Button Test.
4. Find a TextBlockcontrol named PageTitle and set its Text property to main page.
5. Find a Grid control named ContentPanel.
6. Place the following code after the opening tag of the ContentPanel Grid.
7. Replace the ContentPanelGrid code with the following code
<Grid x:Name="ContentPanel" Grid.Row="1" Margin="12,0,12,0">
<Grid.RowDefinitions>
<RowDefinition Height="50"/>
<RowDefinition/>
</Grid.RowDefinitions>
<Button Name="ShowPopupButton" Content="Show Popup" Grid.Row="1" Click="ShowPopupButton_Click" Height="Auto" Width="Auto"/>
<Popup Name="MessagePopup" IsOpen="False" HorizontalAlignment="Stretch" VerticalAlignment="Top">
<Grid Background="{StaticResourcePhoneSemitransparentBrush}" Width="480" HorizontalAlignment="Stretch">
<Grid.RowDefinitions>
<RowDefinition />
</Grid.RowDefinitions>
<TextBlock Name="MessageTextBlock" Foreground="{StaticResource PhoneAccentBrush}" FontSize="{StaticResource PhoneFontSizeMedium}"
Text="Welcome to Windows Phone" Margin="2" HorizontalAlignment="Left" Padding="2" />
</Grid>
</Popup>
</Grid>
a. The above xaml code creates two rows in the ContentPanel Grid control.
b. Add a Popup control,name it MessagePopup.
c. Set IsOpen property to false so that the Popup is hidden, and sets its location at the top of the page.
d. We add a Grid Control inside the Popup with a semitransparent background.
e. Define a row in the Grid and add a TextBlock, we name it MessageTextBlock and set its foreground color to the current phone color theme.
f. Set the MessageTextBlock Text property to some text, we set it to “Welcome to Windows Phone”.
g. Add a button control and name it ShowPopupButton and set its content to Show Popup. This button will show a Popup with a message.
8. Double click the ShowPopupButtonthis will create the button Click event handler for that button.
9. Add the following code to the ShowPopupButton click event handler:
private void ShowPopupButton_Click(object sender, RoutedEventArgs e)
{
MessagePopup.IsOpen = !MessagePopup.IsOpen;
}
a. The above code simply shows the popup when it is not opened and hide it when it is opened.
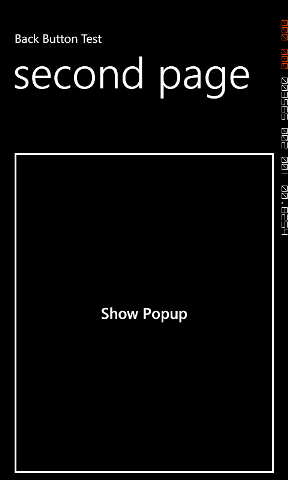
10. Build your application and run it in the emulator.
11. Click on the Second Page Button, you will be navigated to the Second page you will find that the page title now is second page.
12. Click on the ShowPopupButton. This will show the Popup with the text we set.
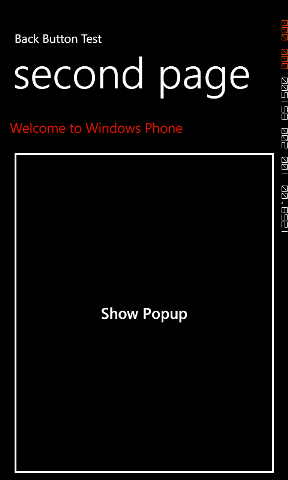
13. Click on the Phone back key you will be navigated to the main page without hiding the Popup first.
14. If you run the Marketplace Test Kit and run the Monitored Tests the Test will fail in the Use of Back Button task with these details Validation of proper behavior when pressing the Back key.
15. The back key should close any dialog that appears in the page.
16. Fortunately we can override the use of the page button by overriding the OnBackKeyPress on the Second page
17. Add the following code to the SecondPage after the constructor method
protected override void OnBackKeyPress(System.ComponentModel.CancelEventArgs e)
{
if (MessagePopup.IsOpen)
{
MessagePopup.IsOpen = false;
e.Cancel = true;
}
else
{
base.OnBackKeyPress(e);
}
}
a. The above code checks if the Message Popup is open or not.
b. If it is open we close it and if not we will be navigated to the previous page.
18. Build your application and run it in the emulator. You will find something similar to the following image.
19. Click on the Second Page Button, you will be navigated to the Second page you will find that the page title now is second page.
20. Click on the ShowPopupButton. This will show the Popup with the text we set.
21. Click on the Phone back button if the popup is shown it will be hidden.
22. If the popup is hidden you will be navigated to the main page.
Now you have a Windows Phone 7 application that display a message in a Popup control and make sure that the hardware Back key will close the Popup dialog.
15 March 2022

17 February 2022
09 December 2019